Let me start by giving you a bit of background information about myself, which will give you some context. I’ve always loved horses. I felt a deep soul connection with them from the age of 4 and love them with my whole heart. I wanted to ride, and be with them all the time (still do). When I finally (after years of nagging my parents) got riding lessons, I discovered it was amazing to be with horses and ride them.
No fun, using a whip

Riding could also be scary! When I was scared, the horse often didn’t do what I wanted. Then I was told to hit him with my crop! They just sugar coated it with “Give him a little tap, when he doesn’t listen”, after all it was “only an extension of my arm”, another very misleading term. We won’t do with our arms what we do with a whip. Whips are meant to cause pain! So we can coerce the horse with pain and fear.
There I was, between a rock and a hard place!. I wanted to belong to ‘the good riders’ and I also wanted the horses to love me back. The psychological mechanism to obey an authority, even when it goes against your own values, is proven in the famous Milgram experiment(s).
I believe a lot of horse owners struggle with obeying their instructor and how they really want to treat their horse. I’ve been a riding instructor for many years, and I’ll tell you a bit more about it later in this blog.
What I learned from Horses
When I got a free lease pony, I was 12 years old at the time, I could do whatever I wanted. Most Saturdays I sat there, just being with them, observing, and serving them. Want to have an itch on your bum removed? Let me help you. Don’t like the saddle? Let’s do without.
I was using force free training since I was 16, but I was not very good at it yet (Captain Hindsight). I believe that giving Sholto a friendly word ( Good boy!) or a reward (long) after training ended was the way.
I was riding with long reins instead of light contact and tried to give him choices. Until of course, he choose something I didn’t want to allow, then I fell back on traditional ways. Even though it make me feel guilty afterwards. It was the lack of having an alternative way that kept me in that place.
With a traditional background, in which he horse has to listen, or else… I only knew to coerce the horse. They had told me: “He’ll never listen to you, if you let this slide“. Or: “He needs to know whos boss. Be the alfa stallion “. (Back in my day it was believed that one stallion led the heard. Things have changed!). “Don’t let him win!” was another warning I’ve heard many, many times! However, horses told me another story.
Horses don’t think in terms of ‘winning’!
Whenever I fell off, I noticed that Sholto did not ran off without me. Even though he was a stallion. Next time I could saddle an ride him as easy as the day before.
I discovered that ‘even’ stallions don’t act as if they want to “win” from their humans. Or that they keep scores.

Yes, they remember the bad times, and they will anticipate with their behaviour. That’s called self-preservation. ;-)) They have good memories. They are also very forgiving, too.
I wanted to befriend my Sholto and I figured out that when I had used the whip too much (to his standards) or had been too rough (I was a teenager, with loads of hormones, just like my 6 year old stallion) I couldn’t catch him the next day in the pasture.
Normally I could approach him, but then he’s simply walk away. His dam was much worse. She had lost trust in humans long before we met and was very ‘hard to catch’.
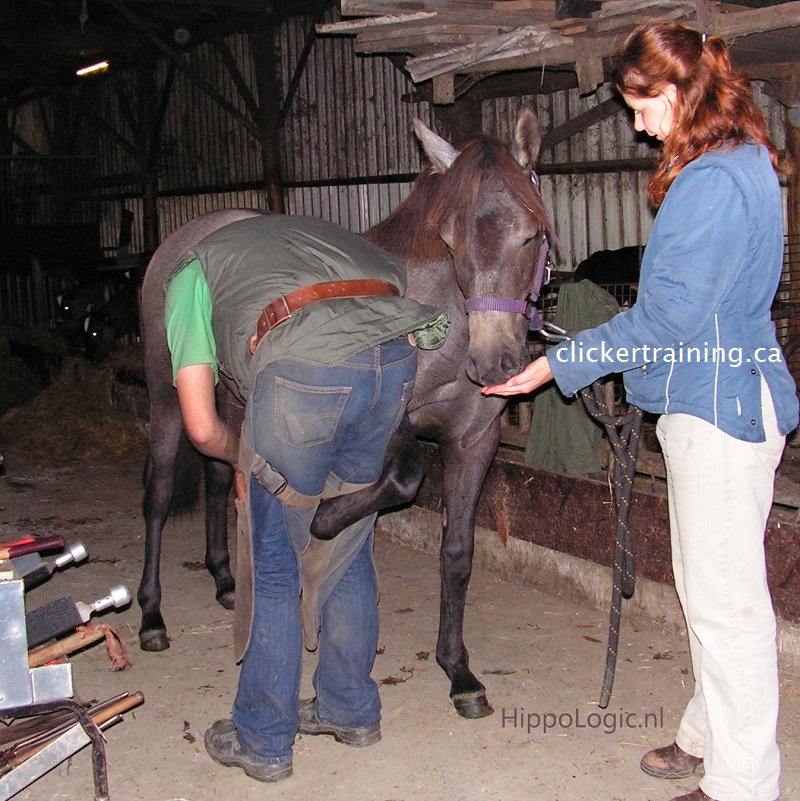
A video of Sholto a few months after starting clicker training. Before I had to get him, after he came to me!
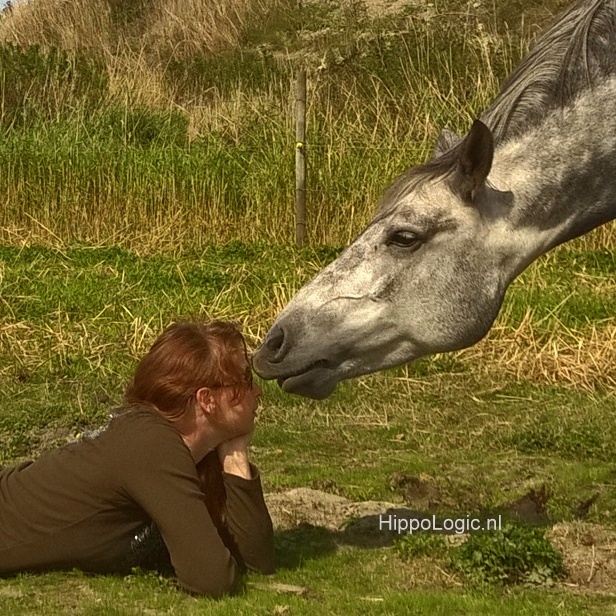
This way I learned a lot about ‘respecting’ horse’s nature and learned to understand them better. If I wouldn’t respect their feelings, and they had a choice (3 hectares is a lot of choice), they choose not to be with me!
In the meanwhile in the riding school, I started to find ways not to use the crop as much. The more I had to hit horses (‘He needs to listen to you!!”), the less I enjoyed riding lessons. This was the reason I quit taking lessons: too much guilt. (read more about using whips in riding schools here).
Loads of mistakes
With Sholto, I made a lot of mistakes and we still we bonded. In 1999 when I learned about positive reinforcement I started to apply force free training in a systematically way. In a way that Sholto could understand! He was 16 years old and I can assure you: You can teach an old horse new tricks!

Clicker training
Clicker training offered clarity! A Click meant clearly “Well done” and then an appetitive (something he appropriated and wanted to have) follows. Using a bridge signal to communicate THIS is what I would like to see more of, was such an eye opener! I think it was the best kept secret in horse training! Also thin slicing (shaping) a behaviour gives the horse clarity.
At the same time, I also learned about Natural Horsemanship, which was based only on negative reinforcement: When Sholto did something desired, I took the pressure away.
Now, Sholto had a mind of his own. He was ‘stubborn’ which just meant he had loads of patience to teach me the right way. LOL. The rule between us was: if you’re friendly to me, I will comply and be friendly to you. I didn’t make that rule, by the way. I learned the hard way about that rule.
Natural Horsemanship (NH)
The problem I had with NH (not at first, in the beginning it was fantastic that I could teach him new things so quickly using pressure-relief) was that I had to apply that aversive pressure first!

I only noticed this when I was teaching. Again, the Milgram experiment (in a lighter form) comes to mind.
I often had to pressure my clients, the horse owner, to apply enough pressure to their horse that he would comply!
The success of negative reinforcement is that it’s 100% positive reinforcement for the trainer: results!
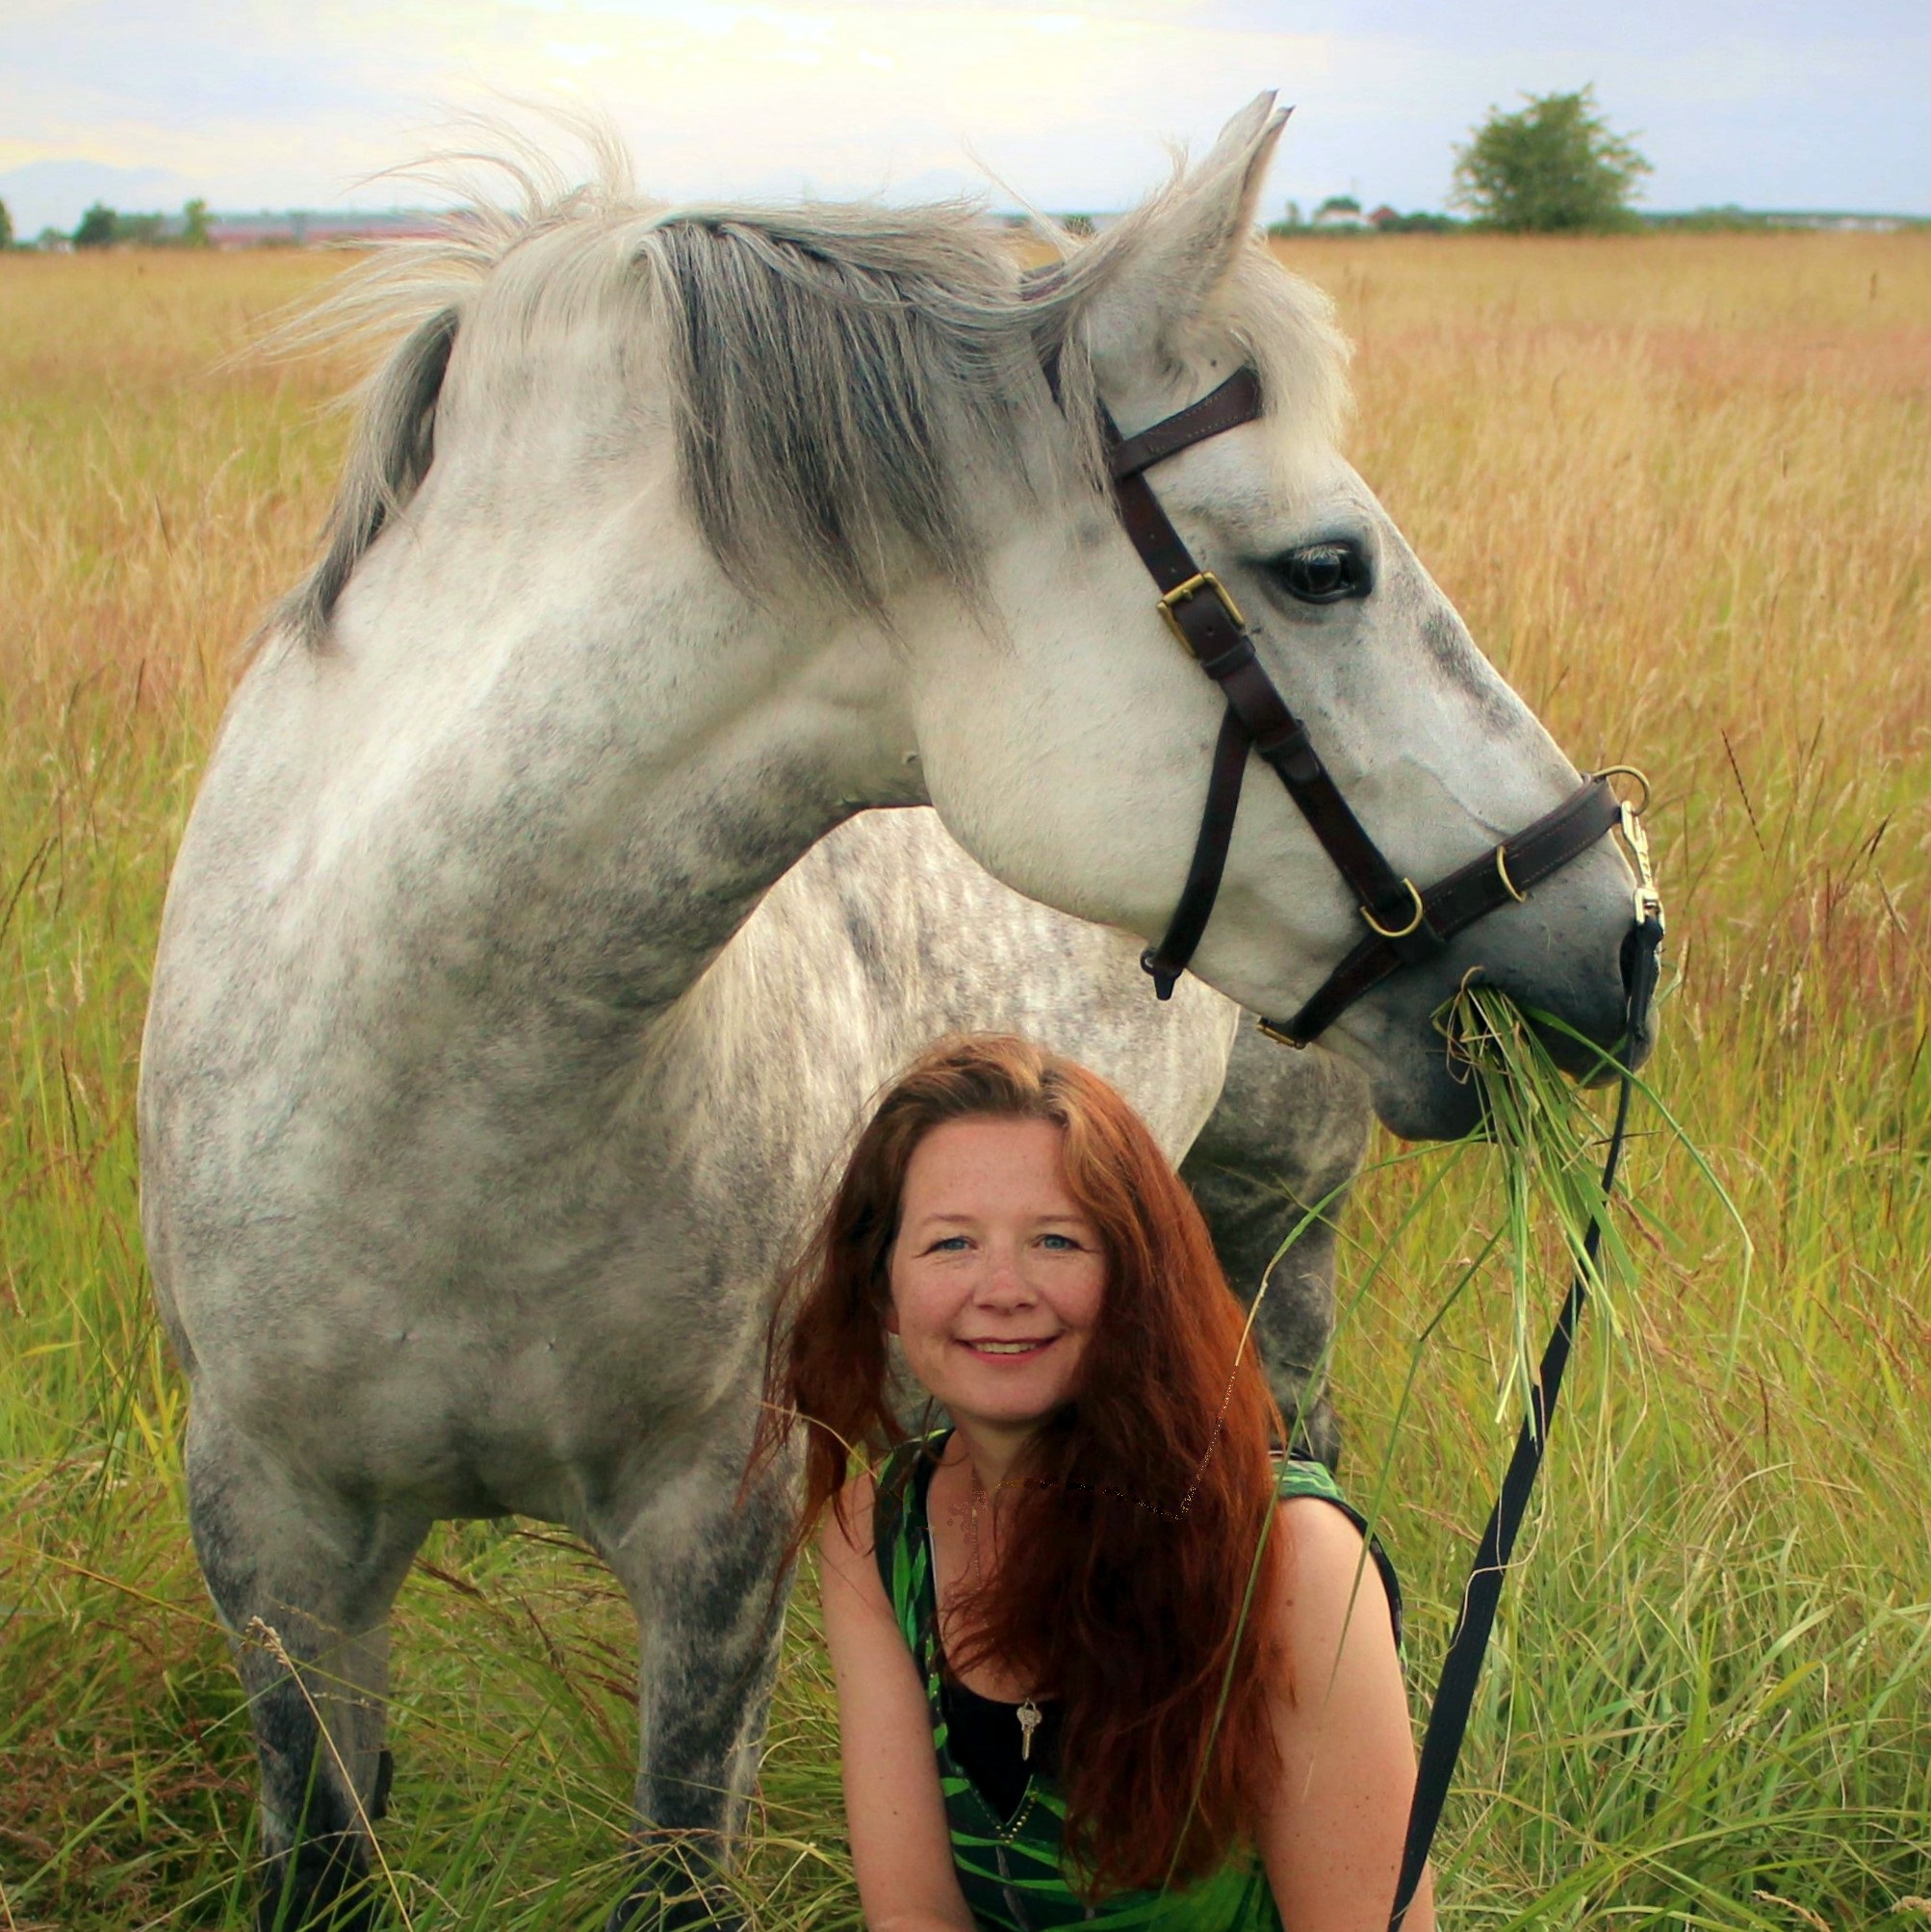
Sandra Poppema
With results, a feeling of power can emerge: a 1000 pound animal, that can kill you with one kick, listens. To you! Horses are Power! When you ride a horse it demands respect (this is engrained in culture and history: riding is for the rich and powerful).
That’s why it took me so long to abandon NH: instant results and… without having an alternative way you still are stuck between a rock and a hard place. It makes you feel bad and it makes you feel good, but don’t know how to turn training into a Win-Win.
Looking from the outside in, as instructor
When I was teaching groundwork and riding lessons, I was looking “from the outside in” and noticed that I was not the only person that struggled with this: applying something aversive to a loved one (their horse) in order to get what they wanted (desired behaviour). It felt wrong at some level to do so. And selfish. It also did impact the horse-human relationship in a negative way. Luckily most horses ‘let it all happen’ and we don’t have to notice if we don’t want to see it. I looked away many, many years.
The easy way was to follow instructions in my natural horsemanship home study package. But since it left a bitter taste in my mouth because it impacted my relationship with Sholto in a negative way, I decided to do more clicker training. Sholto was such a different pony when he knew I would offer clicker training!
The more I used clicker training, the more I realized our relationship was changing for the better. The mutual understanding, his willingness to work for me and WITH me changed. I think he really liked me more and certainly enjoyed working with me more. I know because I used clicker training for all my trick training and in the arena it was “work” (using NH): lunging and lots of movement using pressure release (relief!). He started to be more and more reluctant to go to the arena, his way of telling me!
Kyra pushed me further towards positive reinforcement
My horse Kyra (born in the wild and super sensitive to pressure) told me the same story: it was no fun to be trained with negative reinforcement.
When I got Kyra in 2009, I had a decade of clicker training experience and teaching. When Kyra told me clearly one day “NO” to NH, I pivoted and decided to use R+ (positive reinforcement) from then on.
I still was teaching so I decided to write a manual (just like the one that helped me learn NH) that I could give to my clients for self-study. I called it the Key Lessons, your Key to Success in Clicker Training.
Looking back on my bond with Sholto, I realize that it had become the dream when I started to listen to him and give him a voice, choice and control in training. I thought I had a fabulous relationship with him before that, but when I changed my ways it improved even more!
What Force Free Horse training means (to me):
- Using positive reinforcement to train behaviours
- Using positive reinforcement to develop a two-way (!!) communication with my horse
- Not overstepping my horse’s boundaries (If he’s fearful, let’s lower his anxiety instead of ‘making him understand it’s just a plastic bag’. Fear is real! The horse thinks his life is in danger, help the horse! Make him feel safe first!)
- Steering away from using force, coercion to get ‘my way’ and finding a win-win solution.
This approach brings a horse-human relationship build on mutual (!) trust and clarity (which I couldn’t offer to Sholto without my bridge signal). This is where a friendship can develop.
Values
Now I know what you might be thinking: “You can’t give your horse choices all the time?” Yes, you can!
But, what if he’s sick and you need to give meds he doesn’t want to take?
Then you can give him still choices. Here is the key: having my equestrian values clear, help make decisions about using coercion/force easier.
My top value is not “having fun”, my top value is equine welfare. That’s why I don’t use coercion to get what I want if it’s just for me.
However, if the horses health or life is in danger, and his welfare is compromised I do whatever it takes to change that around. If I need to apply pain for medical reasons, so he can heal, I will. When such a decision is based on values, you won’t have guilty feelings about it.
I can talk hours about this. There are so many ethical, moral and emotional dilemmas around the topic of horse training and keeping horses.
Force Free Movement Training for Kyra
When Kyra got laminitis and was in pain, I had to help her lose weight and exercise her. Exercise was already aversive (it’s hard to move an obese body) and mentally her welfare needs were not met. She was in solitary confinement (no herd to feel safe in), on a restrictive diets (no 16 hours of foraging) and not freedom (a relatively small paddock).
I tried the coercion the first two days, but it impacted our carefully built bond of the previous ten years, in a negative way. Therefor I decided (again) to make a decision that I would try this (,movement training for my fat Kyra) with positive reinforcement.

Long story short: Kyra lost loads of fat, got healthy and best of all: we bonded over the whole experience! I know it would have been completely different if I had fallen back on negative reinforcement (NH/traditional training and coercion). With clicker training I helped Kyra change from a whoa-horse into an eager go-horse. She learned to love her exercises and it served our riding, long rein training and at liberty work for years to come.
I believe that you can help your horse get in shape with clicker training. How? I’ve done it, and I’ve helped many clients do the same.

Do you have a laminitis horse that is reluctant to move?
Join my Facebook group Force Free Exercising Laminitis Horses to stay in touch with me.
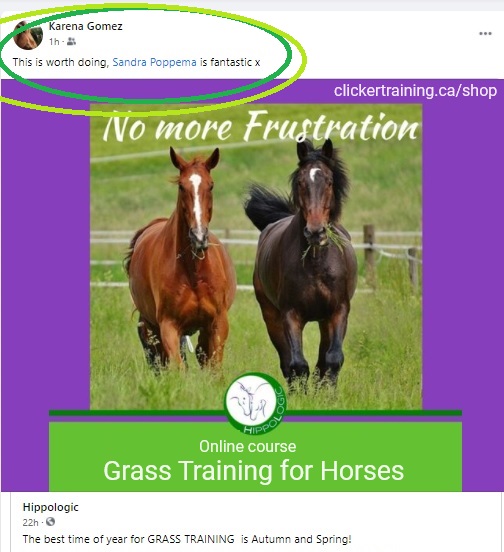
Force Free Movement Training for Horses
Is your horse overweight? Are you facing laminitis? Did the vet recommended: No more treats!” or “You have to exercise more” to get your horse in shape? Do you struggle getting your horse in shape with non ridden exercises, trained without coercion?
Consider my program R+ Movement Training for Horses. We’ll address your biggest struggle in getting your horse to move with positive reinforcement. You can apply to this one year program with this application form or by having a conversation with me. I tailor this online coaching program towards your horse, your situation and your needs!
To see if you’re a fit I offer a free assessment. In the assessment we’ll find out what’s holding you back and you’ll find out what you can change to get your horse in shape. There is no obligation to join my program afterwards. People have told me the assessment is a great tool and gave them lots of insights. Book a free assessment
- Building duration in exercising your horse with R+
- Getting your horse in shape and lose weight without a crash diet
- Teach your horse to move by himself, at liberty and other non ridden exercises
Sandra Poppema, BSc
Founder of the HippoLogic and creator of Force Free Movement Training for Laminitis Horses

New to Clicker Training?
Get my Confident Clicker Trainer course, an high quality, extended online program that teaches you to clicker train your horse.
No matter when you’re new or already advanced (clicker training 2-6 years) this course will offer you many new angles and approaches to enhance and deepen your skills.
You’ll get:
- My proven R+ training step-by-step system that gives you predictable results (It tells you when and how to introduce a cue, when and how to strengthen a behaviour, raise your criteria and get behaviour under stimulus control and so on)
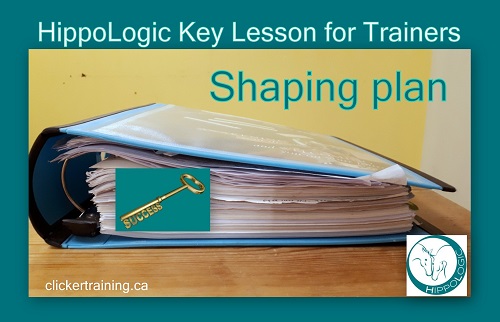
- Includes 6 Keys to Success for Trainers from creating Accountability to Shaping plans
- 8 Modules to teach your horse 6 basic behaviours, the Key Lessons for Horses, that will help you train all future behaviours faster
- Tons of instruction and step-by-step training videos


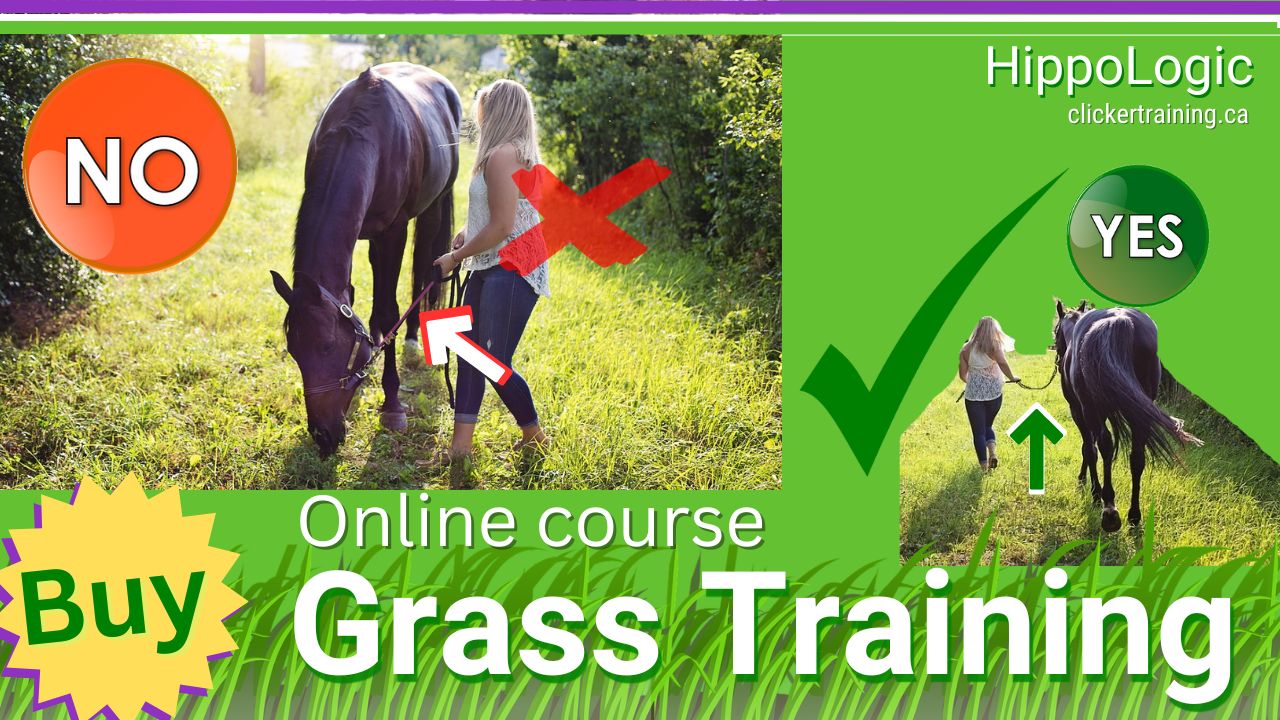
 Do you know the biggest pitfall most horse lovers fall into, when they want to teach their horse manners on grass? They use negative reinforcement or punishment to train it .
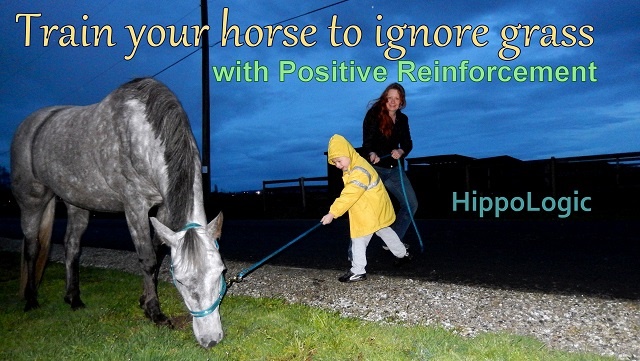


 One of the first skills I teach advanced clicker trainers is to write a shaping plan. Or shall I say: as soon as they are able to write successful shaping plans, they are advanced… Not sure.
 The reason many of my clients find it difficult and get stuck (or skip this process in training) is that they are new
  2) You get what you reinforce, so timing is of the essence.


 Not much horse owners think in ‘goals’ if they think about their horse. It’s a hobby so they don’t think it applies. I think it does!
 When you know what you want you can search specifically for the help you need to get it. If you want to ride your horse with R+ or create a stronger bond than you look for an experienced positive reinforcement instructor. If you want to ride competitions you can narrow your search for an excellent rider that has didactic skills to help you too.
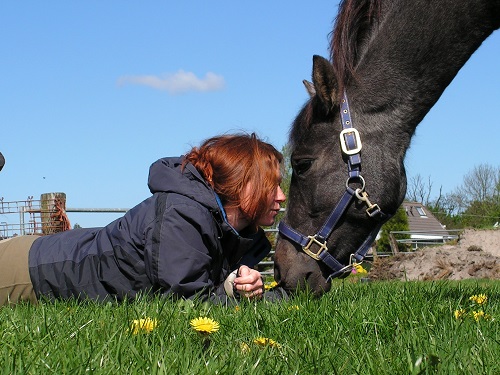
 An accountability partner (another Key Lesson for Trainers) is the one that will help you avoid that pitfall! He or she can also motivate you and help you get new insights and ideas to accomplish your goals.
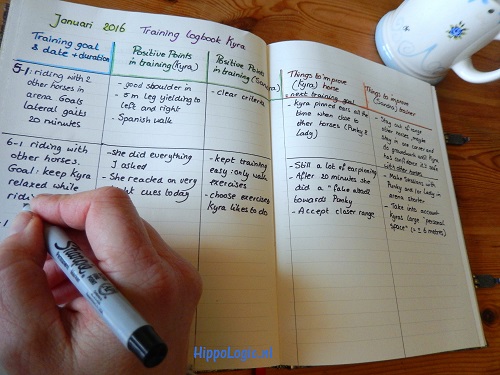
 In order to stay motivated through the year (some goals take time to accomplish) keep track of your accomplishments. It’s easy to fall into the trap of thinking that you haven’t accomplished much. Your brain is always looking to the horizon (that what you haven’t accomplished yet) and it is very motivating to look back once in a while to see how far you’ve already came! Keeping a training journal and filming your training sessions/riding lessons is a really good way of keeping track.


 I
I 


You must be logged in to post a comment.